Building Todo List API, Once Again.
Read more
Chances you’ve built a todo list app/website before is high, especially in your early days. Todo list is about the next step after printing “Hello World“.
Today, we are going to look at new way of building a simple todo list API and deploying it using January (bear in mind that January is still in alpha so there are many bugs floating around).
To follow the writing jump to the playground and wait few seconds for it to activate.
January constitutes of two main parts.
-
Extensions: To customise and configure the codebase.
-
CanonLang (January’s DSL): To define the shape of the API (generated code).
It’s worth highlighting two essential functions in CanonLang.
-
workflow: It’s more or less an endpoint handler (controller action if you’re coming from C# world) -
table: a representation of a database table.
Hint: in the playground, press “command/ctrl + K“ to get help from AI.
Typically when you hear the word workflow it’ll trigger a picture of connected nodes with a trigger in you mind which is true when visual defining a workflow but here the case albeit true in definition is different in declaration as it maps 1:1 with what you already know about backend API development.
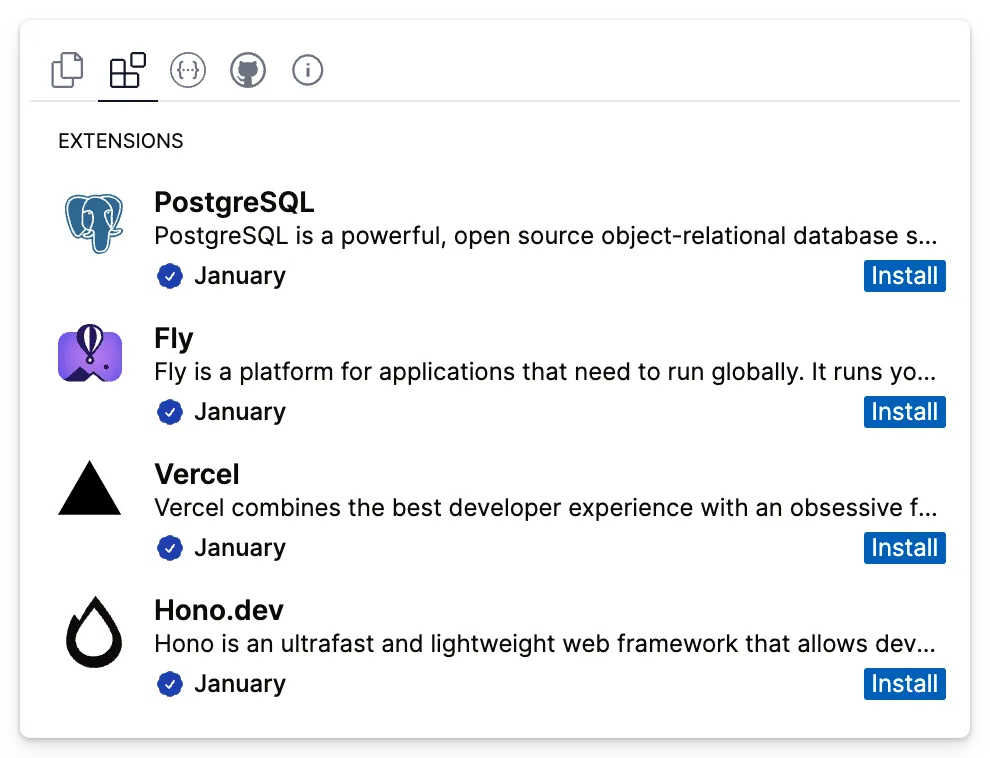
To start, select project from the projects dropdown or create one and ensure that following extensions are installed (Postgresql, Fly.io, and Hono.dev)
That is it for setup, let’s build the API
The API
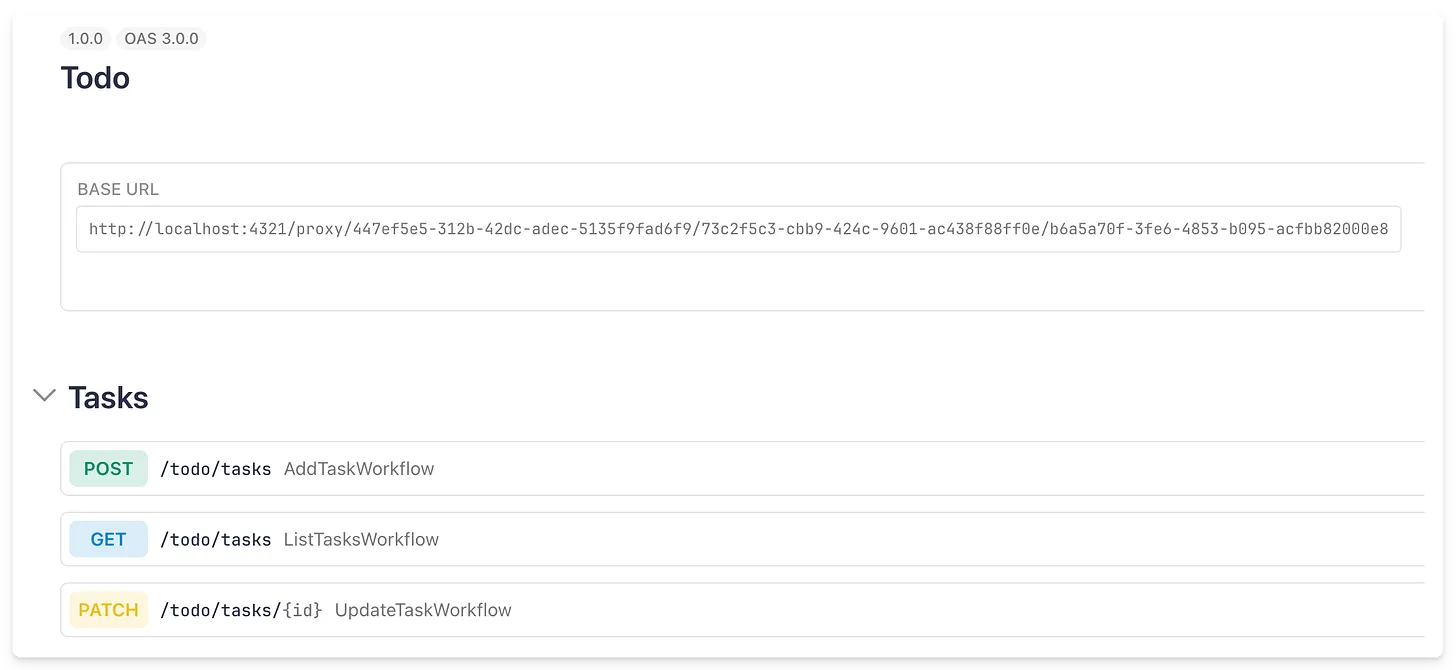
At the end you’ll have the following 4 endpoints (4 workflows)
-
GET /todo/tasks/ -
GET /todo/tasks/:id -
POST /todo/tasks -
PATCH/todo/tasks/:id
Let’s start with describing the todo feature
export default project(
  feature('Todo', {
    tables: {},
    workflows: [],
  })
);
That is the bear minimum to generate the API server, if you copy and paste this code into your project you’ll see a Node.js/TypeScript project with everything needed to run a server.
Tasks Table
You’ll create a minimalistic tasks table that have two columns: title, and completed. Title is a short-text which will translates to non-nullable varchar and ((boolean)) will stay as is.
Primary key and audit fields will be auto generated.
tables: {
  tasks: table({
    fields: {
      title: field({ type: 'short-text', validations: [mandatory()] }),
      completed: field({ type: 'boolean' }),
    },
  });
}
Create Task Endpoint
The first workflow is “create task workflow“ that will accept title in the request body, this following workflow will map to this endpoint.
POST /todo/tasks {title: string}
import { saveEntity } from '@extensions/postgresql';
import { tables } from '@workspace/entities';

workflow('AddTaskWorkflow', {
  tag: 'tasks',
  trigger: trigger.http({
    method: 'post',
    path: '/',
  }),
  execute: async ({ trigger }) => {
    await saveEntity(tables.tasks, {
      title: trigger.body.title,
    });
  },
});tagis used to namespace group of workflows.triggeris how you want your client to call this endpoint.executeis the function that will be executed when the workflow is triggered.
At the end you should be able to call the endpoint using CURL as following
curl -X POST \
 -H "Content-Type: application/json" \
 -d '{"title": "your task title"}' \
 https://yourserver/todo/tasks
Update Task Endpoint
Select the taks to be updated and update the title.
import { createQueryBuilder, updateEntity } from '@extensions/postgresql';
workflow('UpdateTaskWorkflow', {
  tag: 'tasks',
  trigger: trigger.http({
    method: 'patch',
    path: '/:id',
  }),
  execute: async ({ trigger }) => {
    const qb = createQueryBuilder(tables.tasks, 'tasks').where('id = :id', {
      id: trigger.path.id,
    });
    await updateEntity(qb, {
      title: trigger.body.title,
    });
  },
});
List Tasks Endpoint
Similar to the other actions but now with the powerful pagination that will paginate the database record using “deferred_joins” strategy.
import {
  createQueryBuilder,
  deferredJoinPagination,
  execute,
} from '@extensions/postgresql';
import { tables } from '@workspace/entities';

workflow('ListTasksWorkflow', {
  tag: 'tasks',
  trigger: trigger.http({
    method: 'get',
    path: '/',
  }),
  execute: async ({ trigger }) => {
    const qb = createQueryBuilder(tables.tasks, 'tasks');
    const paginationMetadata = deferredJoinPagination(qb, {
      pageSize: trigger.query.pageSize,
      pageNo: trigger.query.pageNo,
      count: await qb.getCount(),
    });
    const records = await execute(qb);
    const output = {
      meta: paginationMetadata(records),
      records: records,
    };
    return output;
  },
});
Get Tasks Endpoint
This one is similar to “Update Task Endpoint”
import { createQueryBuilder, updateEntity } from '@extensions/postgresql';
import { tables } from '@workspace/entities';

workflow('ListTasksWorkflow', {
  tag: 'tasks',
  trigger: trigger.http({
    method: 'get',
    path: '/',
  }),
  execute: async ({ trigger }) => {
    const qb = createQueryBuilder(tables.tasks, 'tasks').where('id = :id', {
      id: trigger.path.id,
    });
    const [task] = await execute(qb);
    return task;
  },
});
Do you think this is interesting? let me know your thoughts and you can share it with others as well.
Let’s do some testing
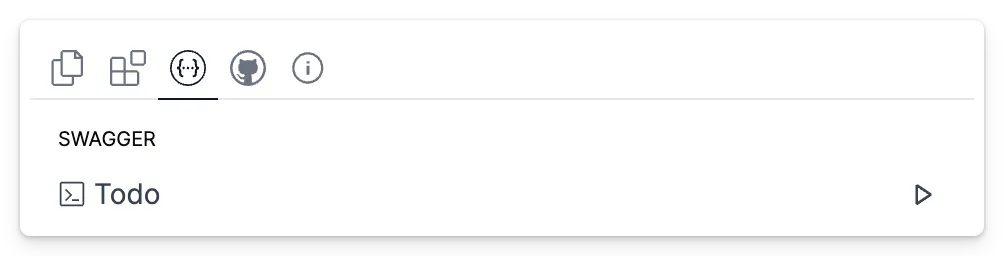
To see the API in action, click on the Swagger tab
 This “Todo” feature we’ve created before, click on the little run icon and you shall see the aforementioned endpoints ready for you to run.
Connecting to GitHub
The next step is have the code in your GitHub Account. January will automatically create a repository for you with the project name.
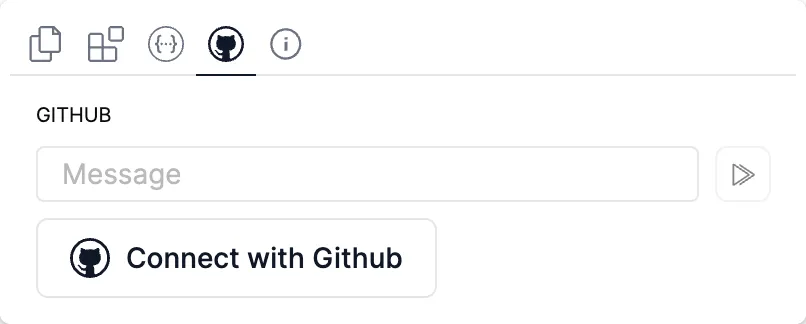
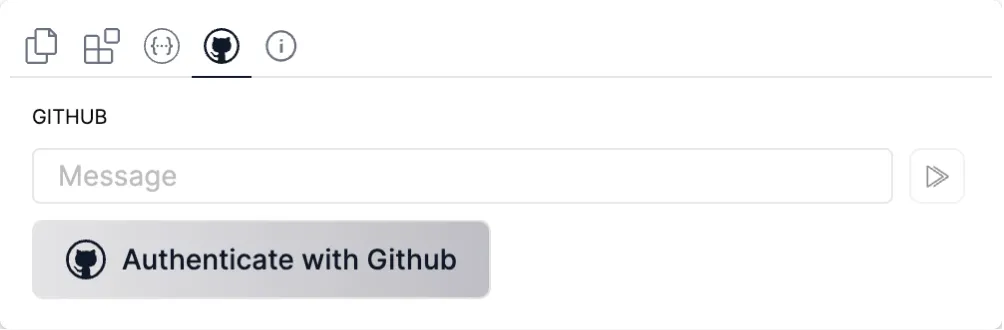 Go to Github tab and then authenticate with Github
Then you will see the “Connect with Github” button that will create a repository in the connected account.
Deploy to Fly.io
You’ve already added the Fly.io extension but it still needs connect to Github to push deploy your code.
-
Create an account in Fly.io.
-
Create Fly.io deployment token.
-
Store the token along with the app name in the created repository secrets using the following names
- FLY_API_TOKEN
- FLY_APP_NAME
- In Fly.io environment variables add connection string to your database. You can create a database in neon.tech. And use the following key
- CONNECTION_STRING
Notes:
-
The language in the example is to be open sourced soon.
-
I’d love to hear your feedback. you can email me at “feedback@january.sh“ or join the discord server
Lastly, If you’d like to have a thorough demo email us at “feedback@january.sh” or hit the following button. we’d love to hear from you.